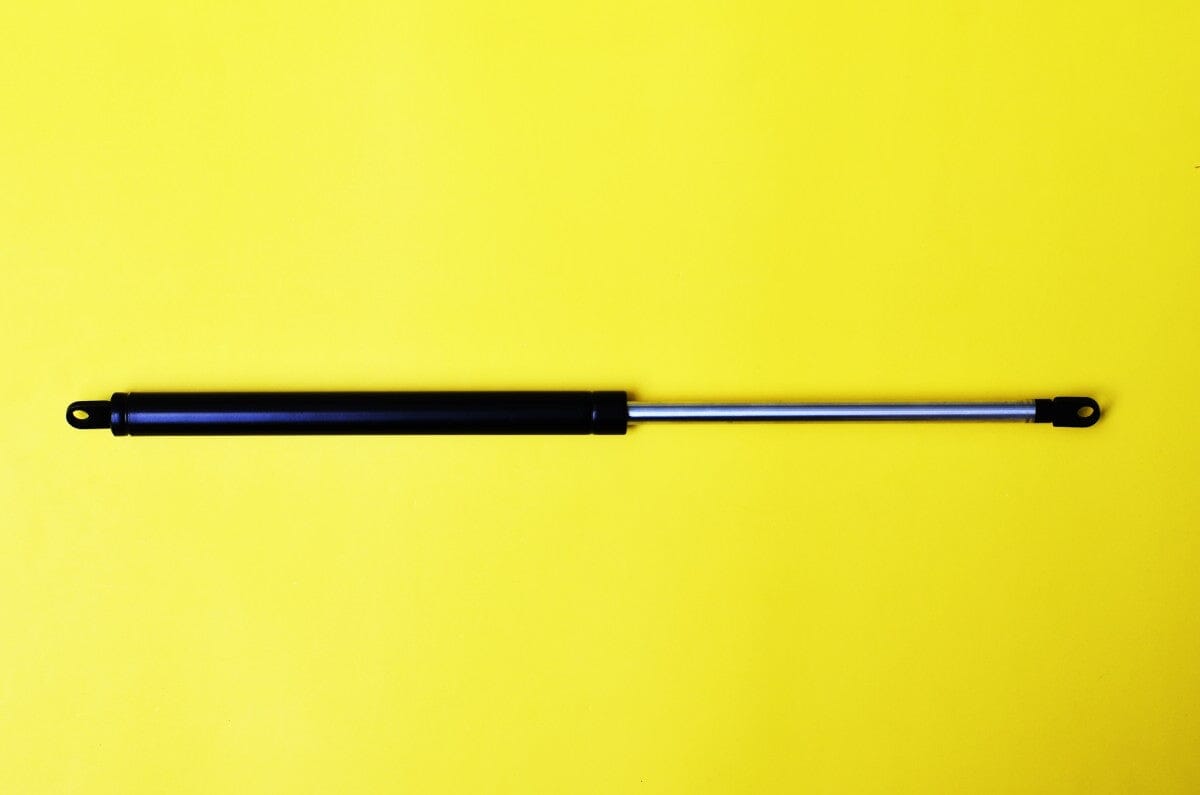
Truck tool box shocks prevent your tool box lid from slamming shut or opening too quickly. However, after extended use, they eventually get worn out or damaged. Follow this simple guide on how to measure tool box shocks and replace them for your convenience.
How Can You Tell if Shocks Are Good?
Before you measure tool box shocks and replace them, you need to see whether your old truck tool box shocks are good. These are obvious signs that you need to measure your tool box shocks and replace them:
- The tool box lid doesn’t open or close smoothly. If you notice stiff or uneven movement, then the shocks for your tool box might be failing.
- he truck tool box shock shocks should be strong enough to hold the lid open without assistance. If the lid falls or fails to stay open, it may be necessary to replace them.
- There are visible signs of breakage or corrosion.
- There are unusual noises while opening or closing the lid.
- There is little to no resistance when you open the lid, so the tool box doesn’t stay open.
How to Measure Tool Box Shocks
There are different methods to measure tool box shocks. However, you can follow these simple steps:
- Gather tools: Get a measuring tape.
- Measure tool box shock length: You must measure the tool box shocks when compressed and fully compressed. The measurement should be from eyelet to eyelet.
- Calculate the stroke length of the truck tool box shocks: To measure the stroke length, subtract the compressed length from the extended length.
How to Replace Your Truck Tool Box Shocks
After you measure your tool box shocks, follow these steps to easily replace them on your truck toolbox.
- Gather tools and materials: You will need a socket wrench and screwdrivers, new shocks for your tool box, and some nuts and bots.
- Open the tool box: Open the lid to find the truck tool box shocks. If the shocks for your tool box are weak or broken, you may need help. Get someone to hold the lid open for you.
- Locate truck tool box shocks: The shocks for tool boxes are typically on the sides or corners of the lid.
- Remove the old shocks: Use a socket wrench to remove the bolts or nuts holding the truck tool box shocks in place. Carefully detach the old truck tool box shocks from the mounting points on the toolbox and the lid.
- Install the new shocks: Attach one end of the new shock to the mounting point on the tool box. Bolt it securely in place. Extend the shock carefully and firmly attach the other end to the lid of the toolbox. Repeat this for the other side.
- Test the new shocks: Test the new truck tool box shocks by opening and closing the tool box lid. Check all bolts and nuts to ensure they’re tightly secured. Look out for any alignment issues or unusual noises.
Truck Tool Boxes Made to Last
We manufacture truck tool boxes that are durable and made to last; we aim to deliver well-crafted storage solutions for your truck.

